
Flooring plays an important role in the beauty, comfort, and functionality of any home or commercial space. Among the many flooring options available today, tiles remain one of the most popular choices because of their durability, versatility, and attractive appearance. A properly planned Floor tile installation process can transform an ordinary room into a stylish and long-lasting space while increasing the overall value of the property.
Whether you are renovating a kitchen, upgrading a bathroom, or designing a new living area, understanding the basics of tile installation can help you achieve better results. From selecting the right materials to preparing the surface and completing the finishing touches, every step contributes to the quality and lifespan of the finished floor.
Choosing the Right Floor Tiles
The first step in any successful floor tile installation project is selecting the right type of tile. Tiles are available in various materials, sizes, colors, and designs, allowing homeowners to choose options that match their style preferences and practical needs.
Ceramic and porcelain tiles are among the most commonly used flooring materials. Porcelain tiles are especially popular because they are dense, water-resistant, and highly durable, making them suitable for areas with heavy foot traffic. Ceramic tiles offer a wide range of designs and are often chosen for residential spaces where style and affordability are important.
Natural stone tiles, such as marble, granite, and slate, provide a luxurious appearance but may require additional maintenance. When selecting tiles, it is important to consider factors such as room usage, moisture levels, maintenance requirements, and overall design goals.
Preparing the Surface Before Installation
Proper preparation is one of the most important parts of floor tile installation. Even high-quality tiles may fail if they are placed on an uneven or poorly prepared surface. Before installation begins, the existing floor should be inspected carefully for cracks, moisture issues, or uneven areas.
The surface must be clean, dry, and free from dust, grease, or debris. If the floor is uneven, leveling compounds may be needed to create a smooth foundation. A properly prepared base helps prevent problems such as loose tiles, uneven surfaces, and cracked grout.
For areas like bathrooms and kitchens, waterproofing may also be necessary to protect the underlying structure from moisture damage. Taking time to prepare the surface properly can improve both the appearance and durability of the finished floor.
Measuring and Planning the Layout
A professional-looking tile floor requires careful planning before the first tile is placed. Measuring the room accurately helps determine how many tiles are needed and reduces unnecessary waste. It also allows installers to create a balanced layout.
Many experts recommend starting from the center of the room and working outward. This approach helps ensure that cut tiles are placed along the edges rather than in highly visible areas. Planning the tile pattern beforehand can also improve the final appearance, especially when using decorative tiles or complex designs.
Factors such as tile direction, spacing, and room shape should be considered during the planning stage. Proper layout preparation creates a more attractive and symmetrical result.
The Floor Tile Installation Process
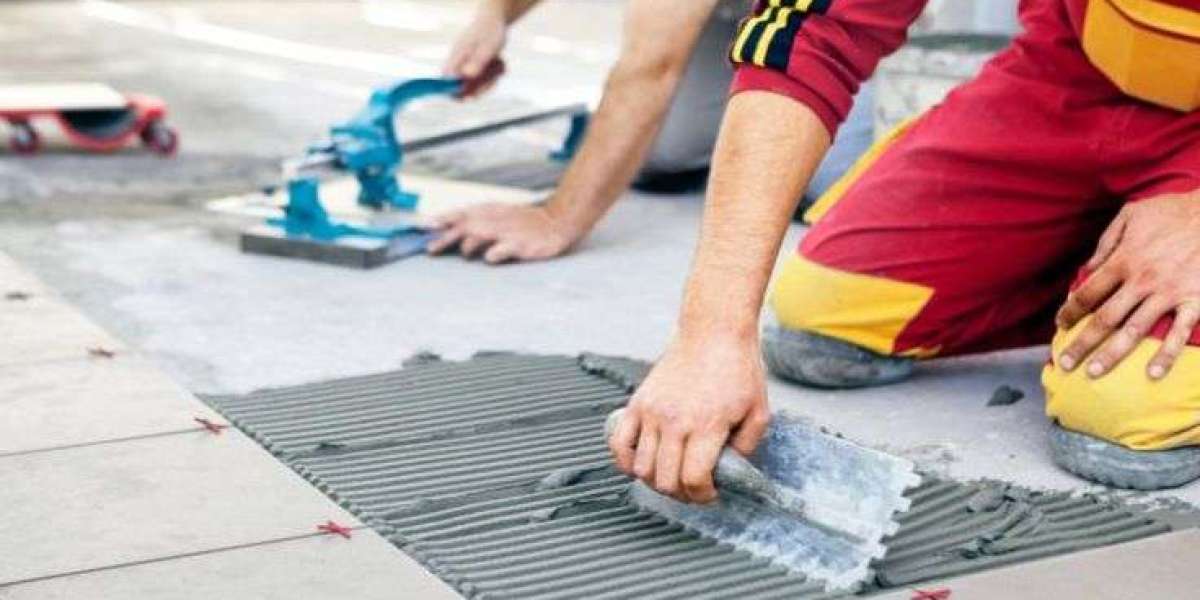
Once the surface is prepared and the layout is planned, the actual installation process can begin. The first step is applying tile adhesive or mortar evenly across the floor. The adhesive should be spread using the appropriate notched trowel to create a strong bond between the tile and the surface.
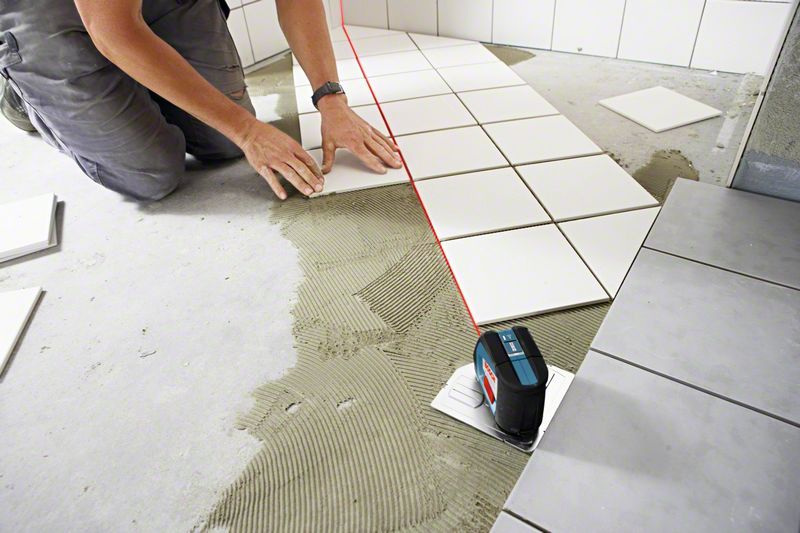
Tiles are then carefully placed according to the planned design. Tile spacers are commonly used to maintain consistent gaps between tiles, which allows for even grout lines. Installers should regularly check that tiles remain level and properly aligned throughout the process.
After all tiles are placed, the adhesive needs sufficient time to set before grouting begins. Applying grout between the tiles fills the gaps and helps prevent dirt, moisture, and debris from collecting in the spaces. Once the grout has cured, the floor can be cleaned and sealed if necessary.
Common Mistakes to Avoid During Tile Installation
Although floor tile installation may seem straightforward, several mistakes can affect the quality of the final result. One common issue is failing to prepare the surface properly. Installing tiles over an uneven or damaged floor can lead to cracks and movement over time.
Another mistake is choosing tiles without considering the environment where they will be installed. For example, slippery tiles may not be suitable for wet areas, while delicate materials may not perform well in high-traffic spaces.
Incorrect adhesive application, inconsistent spacing, and rushing the curing process can also create long-term problems. Following proper installation techniques or working with experienced professionals can help avoid these issues.
Benefits of Professional Floor Tile Installation
While some homeowners choose to install tiles themselves, hiring professionals offers several advantages. Experienced installers have the knowledge, tools, and techniques needed to complete the project efficiently and accurately.
Professionals can help with material selection, layout planning, and handling challenging areas such as corners, transitions, and uneven surfaces. Their expertise reduces the risk of installation errors and ensures that the floor achieves a polished, long-lasting finish.
A professionally installed tile floor can also provide better durability and require fewer repairs over time. This makes professional installation a valuable investment for many property owners.
Maintaining Your Tile Floors After Installation
Proper maintenance helps preserve the appearance and performance of a tiled floor. Regular sweeping or vacuuming removes dirt and debris that can scratch the surface. Cleaning with suitable tile-safe products helps maintain the original shine and finish.
Grout lines should also be cleaned periodically to prevent discoloration. In some cases, resealing may be necessary, especially for natural stone tiles. Addressing spills quickly and avoiding harsh chemicals can further extend the life of the flooring.
With proper care, a well-installed tile floor can remain attractive and functional for many years.
Conclusion
A successful Tile contractor near you requires careful planning, quality materials, proper preparation, and attention to detail. From selecting the right tiles to creating an effective layout and completing the installation process correctly, each step contributes to the strength and beauty of the finished floor.
Whether upgrading a small room or renovating an entire property, investing in quality tile installation can enhance both the appearance and value of a space. With the right approach and proper maintenance, tile flooring provides a durable, stylish, and practical solution that continues to deliver benefits for years to come.