
Resource farming in Helldivers 2 can feel inefficient when every currency seems to ask for a different type of mission. Super Credits and Medals reward quick POI runs, while Samples and XP usually ask you to stay longer and finish objectives. For players who want steady progress without constantly changing their routine, combining several goals into one route can make each deployment feel much more worthwhile.
The same idea applies when collecting Helldivers 2 Items during normal progression. Instead of stopping at every enemy patrol, the better approach is to build a route around Points of Interest, useful terrain, and objectives that naturally fit into your movement. A balanced Difficulty 6 run gives you a reasonable way to collect resources while still completing the mission and earning normal rewards.
Why Difficulty 6 Works Well
There is no single mission difficulty that is perfect for every resource. Very low difficulties can be attractive when the only goal is searching POIs for Super Credits and Medals. You can move quickly, grab useful pickups, and leave without spending much time fighting.
The downside is that this style of run sacrifices the progression attached to completing harder missions. Rare and Super Samples are also unavailable or limited at lower difficulties.
Difficulty 6 creates a useful middle ground. Rare Samples are available, and Super Samples can also appear. At the same time, the missions are generally more manageable than the highest difficulty levels, which makes them suitable for players who want to maintain a fast route rather than spend most of the mission in combat.
The important part is not to treat Difficulty 6 as a full-clear challenge. The goal is efficiency.
Start With the Outer Ring
When possible, drop near the edge of the map. A landing position close to a secondary objective, nest, fabricator area, or POI cluster can give you a natural starting point.
From there, begin moving around the outside rather than immediately heading toward the center.
This perimeter route works because many useful locations can be found around the edges of the playable area. Crashed pods, containers, minor objectives, and other POIs can provide valuable pickups while you are already moving toward your next destination.
Keep checking the compass while sprinting. When question marks or other points of interest appear, decide whether they are close enough to justify a short detour.
There is no reason to fight an entire patrol for one pickup if doing so takes longer than simply continuing your route.
Keep Moving Between POIs
Mobility is the foundation of this farming method.
Light armor is useful because sprint speed matters throughout the entire mission. Scout-style perks can also help with locating nearby points of interest and planning your next movement.
A mobility backpack can make awkward terrain much less frustrating. Jumping over obstacles or using vertical movement to avoid long detours can save more time than a small combat advantage.
Your utility weapon should also support movement. Something capable of quickly opening containers or dealing with minor structures means you do not have to stop and change your approach every time you encounter a locked POI.
The objective is simple: keep the character moving whenever there is something useful nearby.
Choose Terrain Carefully
The planet itself can determine whether a farming route feels smooth or painful.
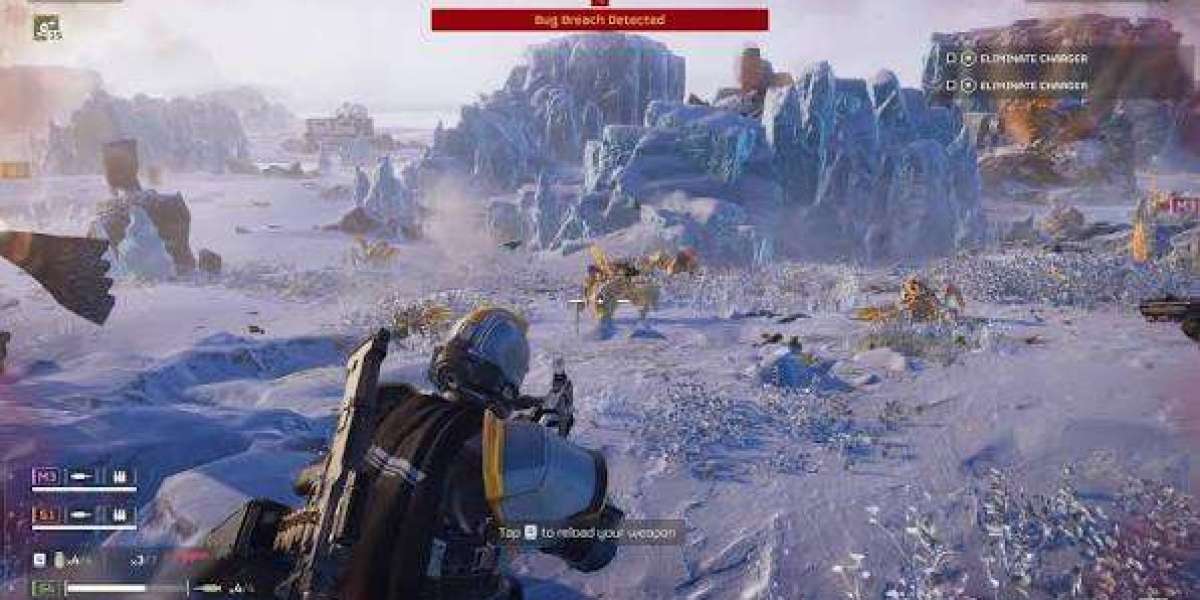
Open desert and relatively flat ice environments are usually easier to navigate because you can see farther and maintain a consistent sprint path. Distant POIs are also easier to notice when there are fewer cliffs, buildings, and other obstacles blocking your view.
Maps filled with steep mountains, deep water, or complicated terrain can create unnecessary travel time. Even if the mission contains plenty of resources, reaching them may take too long to justify the detour.
Environmental effects can create another problem. Severe heat or blizzards can interfere with movement and stamina management, making a route that looks efficient on paper much slower in practice.
Finish Through the Center
After completing most of your outer sweep, turn toward the center of the map.
This is the point where you combine resource farming with normal mission progression. Look for the distinctive rock formation associated with Super Samples, collect anything useful that lies directly along your path, and work toward the primary objective.
Once the objective is complete, avoid unnecessary combat. If a patrol appears behind you, there is usually little reason to turn around and fight it.
An FRV can also be extremely useful on flat maps. Long-distance travel is one of the biggest time costs during a resource run, and a vehicle can dramatically shorten those gaps when the terrain allows it.
Know When to Stop Searching
Efficient farming is not about collecting everything.
If you already have a good selection of Samples and POI rewards, spending several minutes searching one final corner can make the entire run less efficient. The same applies to enemy bases that require a long detour.
Think about the value of each action in terms of time. A POI directly beside your route is usually worth checking. A POI on the opposite side of a dangerous area may not be.
This mindset also keeps the run safer. Surviving with a strong collection of resources is more useful than dying because you stayed too long chasing one additional pickup.
A Balanced Resource Loop
For players who want to improve their loadout while keeping regular mission progression moving, a Difficulty 6 perimeter-to-center route is a practical compromise. It gives you opportunities to collect several resource types without forcing every run into a dedicated farming session.
When your main goal changes, however, change the route with it. A player who desperately needs Super Credits can use a dedicated low-difficulty POI strategy, while someone focused on Samples should prioritize missions and difficulties that actually provide them.
The same principle applies when you are looking to buy Helldivers 2 Weapons: understand exactly what your current progression needs before spending resources, then build your farming route around that goal rather than trying to collect everything at once.