
How to Prevent Bubbles in Epoxy Resin for a Crystal-Clear Finish
Creating a smooth, transparent finish is one of the most important goals in resin art. Whether you are making resin coasters, jewellery, trays, tabletops, or decorative pieces, unwanted air bubbles can affect the final appearance of your project. Even a small number of bubbles can make a beautiful design look cloudy or uneven.
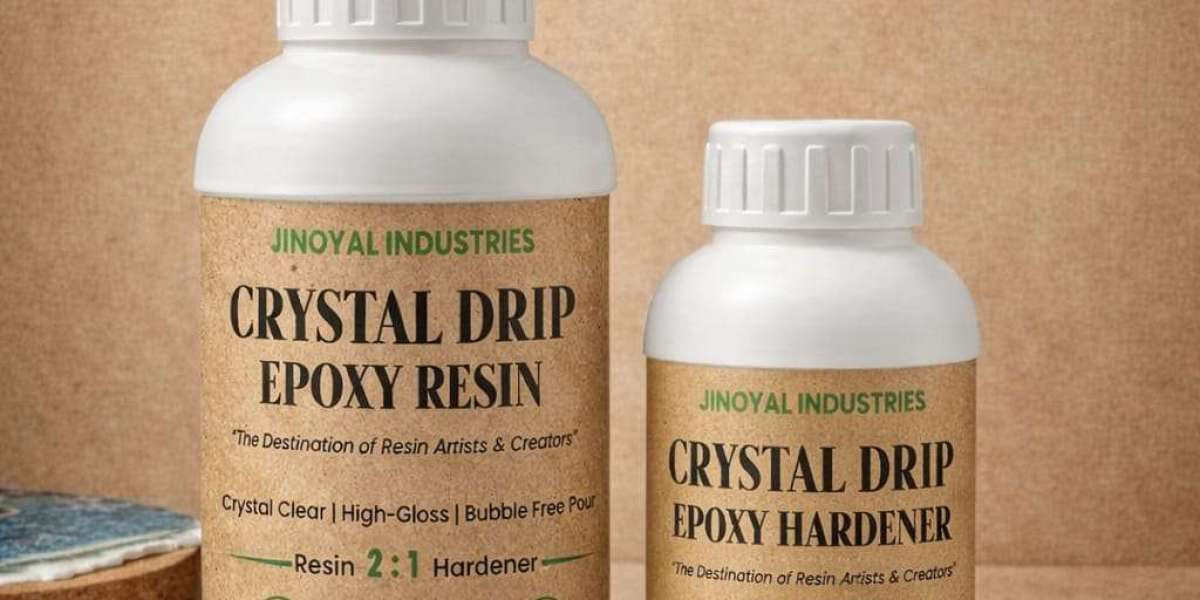
Using high-quality Epoxy Resin, measuring the correct amount of Epoxy Resin Hardener, and following proper mixing techniques can significantly reduce bubble formation. However, bubbles may still appear because of incorrect mixing, low temperatures, moisture, porous materials, or improper pouring methods.
In this guide, we will explain why bubbles form, how to prevent them, and how to achieve a smooth finish with Crystal Clear Epoxy Resin.
What Causes Bubbles in Epoxy Resin?
Before learning how to prevent bubbles, it is important to understand where they come from. Air can become trapped in the resin during mixing, pouring, or curing.
1. Mixing Resin Too Quickly
One of the most common causes of bubbles is stirring too quickly. Fast mixing introduces air into the liquid, creating small bubbles that may remain visible after the resin cures.
Solution: Stir slowly and steadily, scraping the sides and bottom of the mixing cup to combine the resin and hardener thoroughly.
2. Incorrect Resin-to-Hardener Ratio
Every resin system has a recommended mixing ratio. Adding too much or too little hardener can interfere with curing and may leave the surface sticky, cloudy, or uneven.
Solution: Follow the manufacturer's instructions carefully. Measure both components accurately rather than estimating quantities.
3. Low Room Temperature
Cold temperatures can make resin thicker, making it harder for trapped air to rise to the surface. This can increase the likelihood of bubbles remaining inside the finished piece.
Solution: Work within the temperature range specified on the product label. Keep the resin and hardener at the recommended temperature before mixing.
4. Moisture and Porous Materials
Wood, dried flowers, paper, and other porous materials may contain trapped air or moisture. When these materials are covered with resin, air can escape and create bubbles.
Solution: Ensure materials are completely dry and apply a suitable seal coat when appropriate before pouring the main layer.
5. Pouring Too Quickly
Pouring a large amount of resin rapidly can introduce additional air or trap bubbles around decorative objects.
Solution: Pour slowly and consistently. For deep moulds or detailed designs, follow the resin manufacturer's recommended layer thickness and pouring instructions.
10 Practical Ways to Prevent Bubbles in Epoxy Resin
Follow these techniques to improve the clarity and quality of your resin projects.
1. Choose the Right Epoxy Resin
Selecting a resin formulated for your intended application is the first step toward achieving a clear finish. Different formulations are designed for coatings, casting, jewellery, and deeper pours.
A suitable Crystal Clear Epoxy Resin can provide excellent transparency when mixed, poured, and cured correctly.
When choosing a product, check its recommended application, working time, maximum pour depth, curing conditions, and compatibility with pigments or decorative materials.
2. Measure the Resin and Hardener Accurately
Always check the mixing ratio printed on the packaging. Some products use a ratio by volume, while others specify a ratio by weight. These measurements are not necessarily interchangeable.
For consistent results:
Use clean, dry measuring cups or a suitable digital scale.
Follow the specified ratio for the exact resin system.
Avoid adding extra hardener to speed up curing.
Prepare only the amount you can comfortably use within the working time.
Correct measurement helps the Resin and Hardener cure as intended and reduces problems such as soft spots, tacky surfaces, and uneven finishes.
3. Mix Slowly and Thoroughly
Mixing correctly is essential for preventing air bubbles without compromising the curing process.
Use a flat mixing stick and stir slowly. Scrape the sides and bottom of the container frequently so that both components blend evenly.
If the product instructions recommend double-cup mixing, transfer the mixture into a second clean cup and stir again carefully.
Avoid vigorous whisking or rapid circular movements because they can introduce excess air.
4. Maintain the Recommended Working Temperature
Temperature affects resin viscosity, working time, and curing behaviour.
A resin that is too cold may become thick and release trapped air slowly. Excessive heat, however, can shorten working time and increase the risk of overheating, especially in larger quantities.
For the best results:
Keep the workspace within the manufacturer's recommended temperature range.
Avoid working in very cold or humid conditions when the product instructions advise against them.
Allow materials to reach a suitable working temperature before mixing.
Do not heat resin directly or use an uncontrolled heat source.
Consistent temperature helps the resin flow smoothly and allows bubbles to escape more easily.
5. Pour Slowly Into the Mould
The pouring technique can make a noticeable difference to the finished appearance.
Pour the resin in a thin, controlled stream rather than dumping it into the mould. If the project includes small details, decorative pieces, or narrow spaces, allow the resin to flow gradually around them.
For larger projects, use multiple layers only when permitted by the product instructions. Always respect the maximum pour depth and curing requirements.
6. Seal Porous Materials Before Casting
Natural materials can release trapped air after the resin has been poured. This is particularly common with wood, dried flowers, untreated paper, and certain porous decorations.
To reduce this problem:
Make sure the material is clean and fully dry.
Apply a compatible sealing coat where appropriate.
Allow the seal coat to dry or cure as directed.
Add the main resin layer carefully.
This technique is especially useful for river tables, wood-resin art, botanical jewellery, and decorative resin trays.
7. Remove Surface Bubbles Carefully
After pouring, small bubbles may rise to the surface. Depending on the resin system, a suitable heat tool may help release some of them.
Use a tool approved for your project and follow the resin manufacturer's safety guidance. Keep any heat source moving, use brief passes, and maintain a safe distance.
Important: Excessive heat can damage moulds, scorch wood, distort the resin, or cause overheating. Never use an open flame around flammable materials, solvents, or resin vapours. A heat gun is not appropriate for every project, particularly when the resin is deep or highly reactive.
8. Avoid Overloading Resin With Pigments and Additives
Pigments, glitter, dried flowers, and other inclusions can create additional places where air becomes trapped. Excessive additives may also change the resin's flow and curing behaviour.
When creating coloured resin art, add compatible colourants in the quantity recommended by the supplier. Mix pigments carefully and avoid introducing air.
For metallic effects, Mica Powder and suitable resin pigments can add colour and shimmer, but they should be compatible with the resin system. Always test a small batch before using a new combination in a finished project.
9. Use a Suitable Mould and Prepare It Properly
Dust, moisture, residue, and debris inside a mould can affect the appearance of the finished casting. Deep corners and intricate mould details may also trap air.
Before pouring:
Inspect the mould for dust and moisture.
Clean it according to the mould manufacturer's recommendations.
Place it on a stable, level surface.
Pour slowly into detailed sections.
Check for visible bubbles around corners and decorative inclusions.
Using suitable Resin Art Supplies and well-maintained moulds can make the entire process more consistent.
10. Protect the Resin While It Cures
Once the resin has been poured, keep the project in a clean, level, dust-free location. Moving or disturbing it too early can affect the surface and allow contaminants to settle into the finish.
Follow the product's instructions for curing time, temperature, and humidity. Do not assume that a surface that feels dry has fully cured.
How to Get a Crystal-Clear Finish: A Step-by-Step Method
If you want a professional-looking result, use the following workflow.
Step 1: Prepare your workspace
Choose a level, well-ventilated area and protect the work surface. Wear the personal protective equipment specified by the product manufacturer.
Step 2: Prepare the mould and materials
Make sure the mould and any decorative inclusions are clean and dry. Seal porous materials if necessary.
Step 3: Measure the components
Measure the resin and hardener according to the manufacturer's specified ratio. Do not guess or change the ratio.
Step 4: Mix slowly
Stir the components thoroughly at a controlled pace. Scrape the sides and bottom of the container to ensure an even mixture.
Step 5: Pour carefully
Pour slowly into the prepared mould. Use the recommended layer thickness and avoid disturbing the mixture unnecessarily.
Step 6: Inspect and release bubbles
Check the surface and visible areas for bubbles. Use only a suitable bubble-release method that is compatible with your resin and project.
Step 7: Allow proper curing
Leave the piece undisturbed for the recommended curing period. Avoid removing the casting from the mould too early.
Step 8: Inspect the finished piece
Once fully cured, check the surface for cloudiness, bubbles, uneven areas, or sticky patches. If defects appear, review the mixing ratio, temperature, moisture, and pouring method before starting the next project.
Can Bubble-Free Epoxy Resin Be Used for Every Project?
Products marketed as Bubble Free Epoxy Resin may be formulated to improve flow or bubble release, but no resin can guarantee a completely bubble-free result in every situation.
The final outcome depends on the formulation, mixing method, temperature, mould design, inclusions, and curing conditions.
For example, thin coating applications may allow bubbles to escape more easily than deep castings with intricate shapes. Projects containing porous materials may need additional preparation, even when a low-viscosity resin is used.
Choose a product designed for your specific application and follow its technical instructions for the best possible results.
How to Choose an Epoxy Resin Kit for Beginners
For someone new to resin art, a suitable Epoxy Resin Kit can simplify the process by providing compatible resin and hardener components. Before purchasing, check what the kit includes and whether the instructions are easy to follow.
A useful Crystal Clear Epoxy Resin Kit should clearly specify:
The resin-to-hardener mixing ratio.
Suitable applications, such as coating or casting.
Recommended working and curing temperatures.
Working time and full curing time.
Maximum recommended pour depth.
Safety precautions and handling instructions.
Beginners should start with a small, straightforward project, such as a coaster or pendant. This makes it easier to practise measuring, mixing, pouring, and bubble removal before attempting larger pieces.
If you are looking for Epoxy Resin for Beginners, prioritise clear instructions and a formulation suited to your intended project rather than choosing a product based on its name alone.
Does Non-Yellowing Epoxy Resin Prevent Bubbles?
Non Yellowing Epoxy Resin and bubble-resistant resin address different performance characteristics.
A non-yellowing formulation is designed to resist yellowing over time, although the degree of resistance depends on the product, UV exposure, temperature, and other environmental conditions. Bubble prevention, on the other hand, depends largely on resin viscosity, mixing, pouring, and curing.
A resin may offer good clarity and yellowing resistance but still develop bubbles if it is mixed too quickly or used incorrectly.
For the best results, select a resin with the clarity and durability features your project requires, then follow proper preparation and application techniques.
Frequently Asked Questions
1. Why does my epoxy resin have bubbles after curing?
Bubbles may remain because of rapid mixing, low temperatures, porous materials, moisture, or insufficient time for air to escape. Review the preparation and application process before your next pour.
2. How do I remove bubbles from epoxy resin after pouring?
If the resin is still within its working time, a suitable heat tool or another manufacturer-approved technique may help release surface bubbles. Use caution and avoid excessive heat. Bubbles trapped inside cured resin generally cannot be removed without repairing or recasting the affected area.
3. Does warming epoxy resin help prevent bubbles?
Slightly warming the components may reduce viscosity and help air escape, but only when the manufacturer permits it. Excessive heat can shorten working time or cause overheating. Never use direct or uncontrolled heating.
4. Can I make epoxy resin completely bubble-free?
A completely bubble-free finish cannot be guaranteed in every project. However, slow mixing, accurate measurement, suitable temperature, careful pouring, and proper material preparation can significantly reduce bubbles.
5. Which epoxy resin is best for a crystal-clear finish?
Choose a resin designed for your application, whether that is a coating, jewellery casting, or deeper mould. Check the product's clarity, viscosity, curing conditions, maximum pour depth, and compatibility with your materials.
6. Can mica powder cause bubbles in epoxy resin?
Mica powder does not automatically cause bubbles, but aggressive mixing or adding too much pigment can introduce air or change the mixture's behaviour. Add compatible pigments gradually and stir gently.
7. How long should epoxy resin cure before removing it from the mould?
The time varies by formulation, project thickness, and environmental conditions. Follow the manufacturer's demoulding and full-curing instructions rather than relying only on how firm the surface feels.
Final Thought
Achieving a smooth, crystal-clear resin finish starts with proper preparation and consistent application techniques. Select suitable Epoxy Resin, measure the Epoxy Resin Hardener accurately, mix slowly, pour carefully, and maintain the recommended curing conditions. Preparing porous materials and removing surface bubbles safely can further improve the final appearance.
Whether you are using Crystal Clear Epoxy Resin, a Crystal Clear Epoxy Resin Kit, or an Epoxy Resin Kit for your first project, remember that good results depend on both material quality and correct handling. Even Bubble Free Epoxy Resin requires proper mixing and pouring techniques to minimise defects.
For hobbyists and experienced creators alike, choosing suitable Resin and Hardener, considering Non Yellowing Epoxy Resin when long-term clarity matters, and investing in appropriate Resin Art Supplies can help create beautiful, durable pieces. If you are new to the craft, start with a small project using Epoxy Resin for Beginners and practise these methods before moving on to larger designs.